Golden hour is the 30–60 minutes after sunrise and before sunset when the sun is low enough in the sky that its light travels through more atmosphere — producing the warm, directional, diffuse light that makes everything look better. Photographers obsess over it for a reason: it solves most of photography’s hard problems simultaneously. The trouble is that it’s short, it’s unpredictable, and showing up without a plan usually means leaving with nothing usable. Here’s how to shoot it with intention.
Before You Arrive: The Prep Work
Golden hour photography is 80% preparation and 20% execution. The light quality is largely outside your control — your job is to be in the right position before it happens, not to scramble while it does.
- PhotoPills or The Photographer’s Ephemeris: Both apps show you exactly where the sun will rise and set from any location on any date, overlaid on a map. Use them the day before to identify exactly where you need to stand to get the sun behind your subject, in front, or at a 45-degree side angle.
- Scout in advance: Visit your location during midday to understand the geography, identify foreground elements, and identify any obstacles (buildings, trees) that will block the light.
- Arrive 30 minutes early: Light moves fast near the horizon. If you arrive at golden hour, you’ve already missed the setup window.
Blue hour: The 20–30 minutes immediately after sunset (or before sunrise) — when the sky turns deep blue and city lights balance with ambient light — is often more photogenic than golden hour itself, particularly for architectural and cityscape work. Stay through it.
Camera Settings for Golden Hour
The challenge at golden hour is extreme dynamic range: a bright sky and a shadowed foreground that differ by 5–8 stops of light. Your camera cannot capture both in a single exposure. You have three options:
- Expose for the sky, lift shadows in post: Works well with modern RAW files. Set exposure so highlights aren’t blown, then recover shadow detail in Lightroom. Modern sensors handle this without significant noise up to 2–3 stops of shadow recovery.
- Graduated ND filter: A neutral density filter that darkens the top half of the frame (sky) while leaving the bottom half (foreground) exposed normally. Eliminates the need for post-processing compromise. The variable version handles scenes where the horizon isn’t straight.
- Exposure bracketing: Shoot 3–5 exposures at different settings and blend manually in post or with HDR software. More time-intensive but preserves the most detail across the frame.
Composition Strategies That Work at Golden Hour
The quality of golden light can make a weak composition look acceptable. Don’t let it. The most powerful golden hour images use the light intentionally as part of the composition:
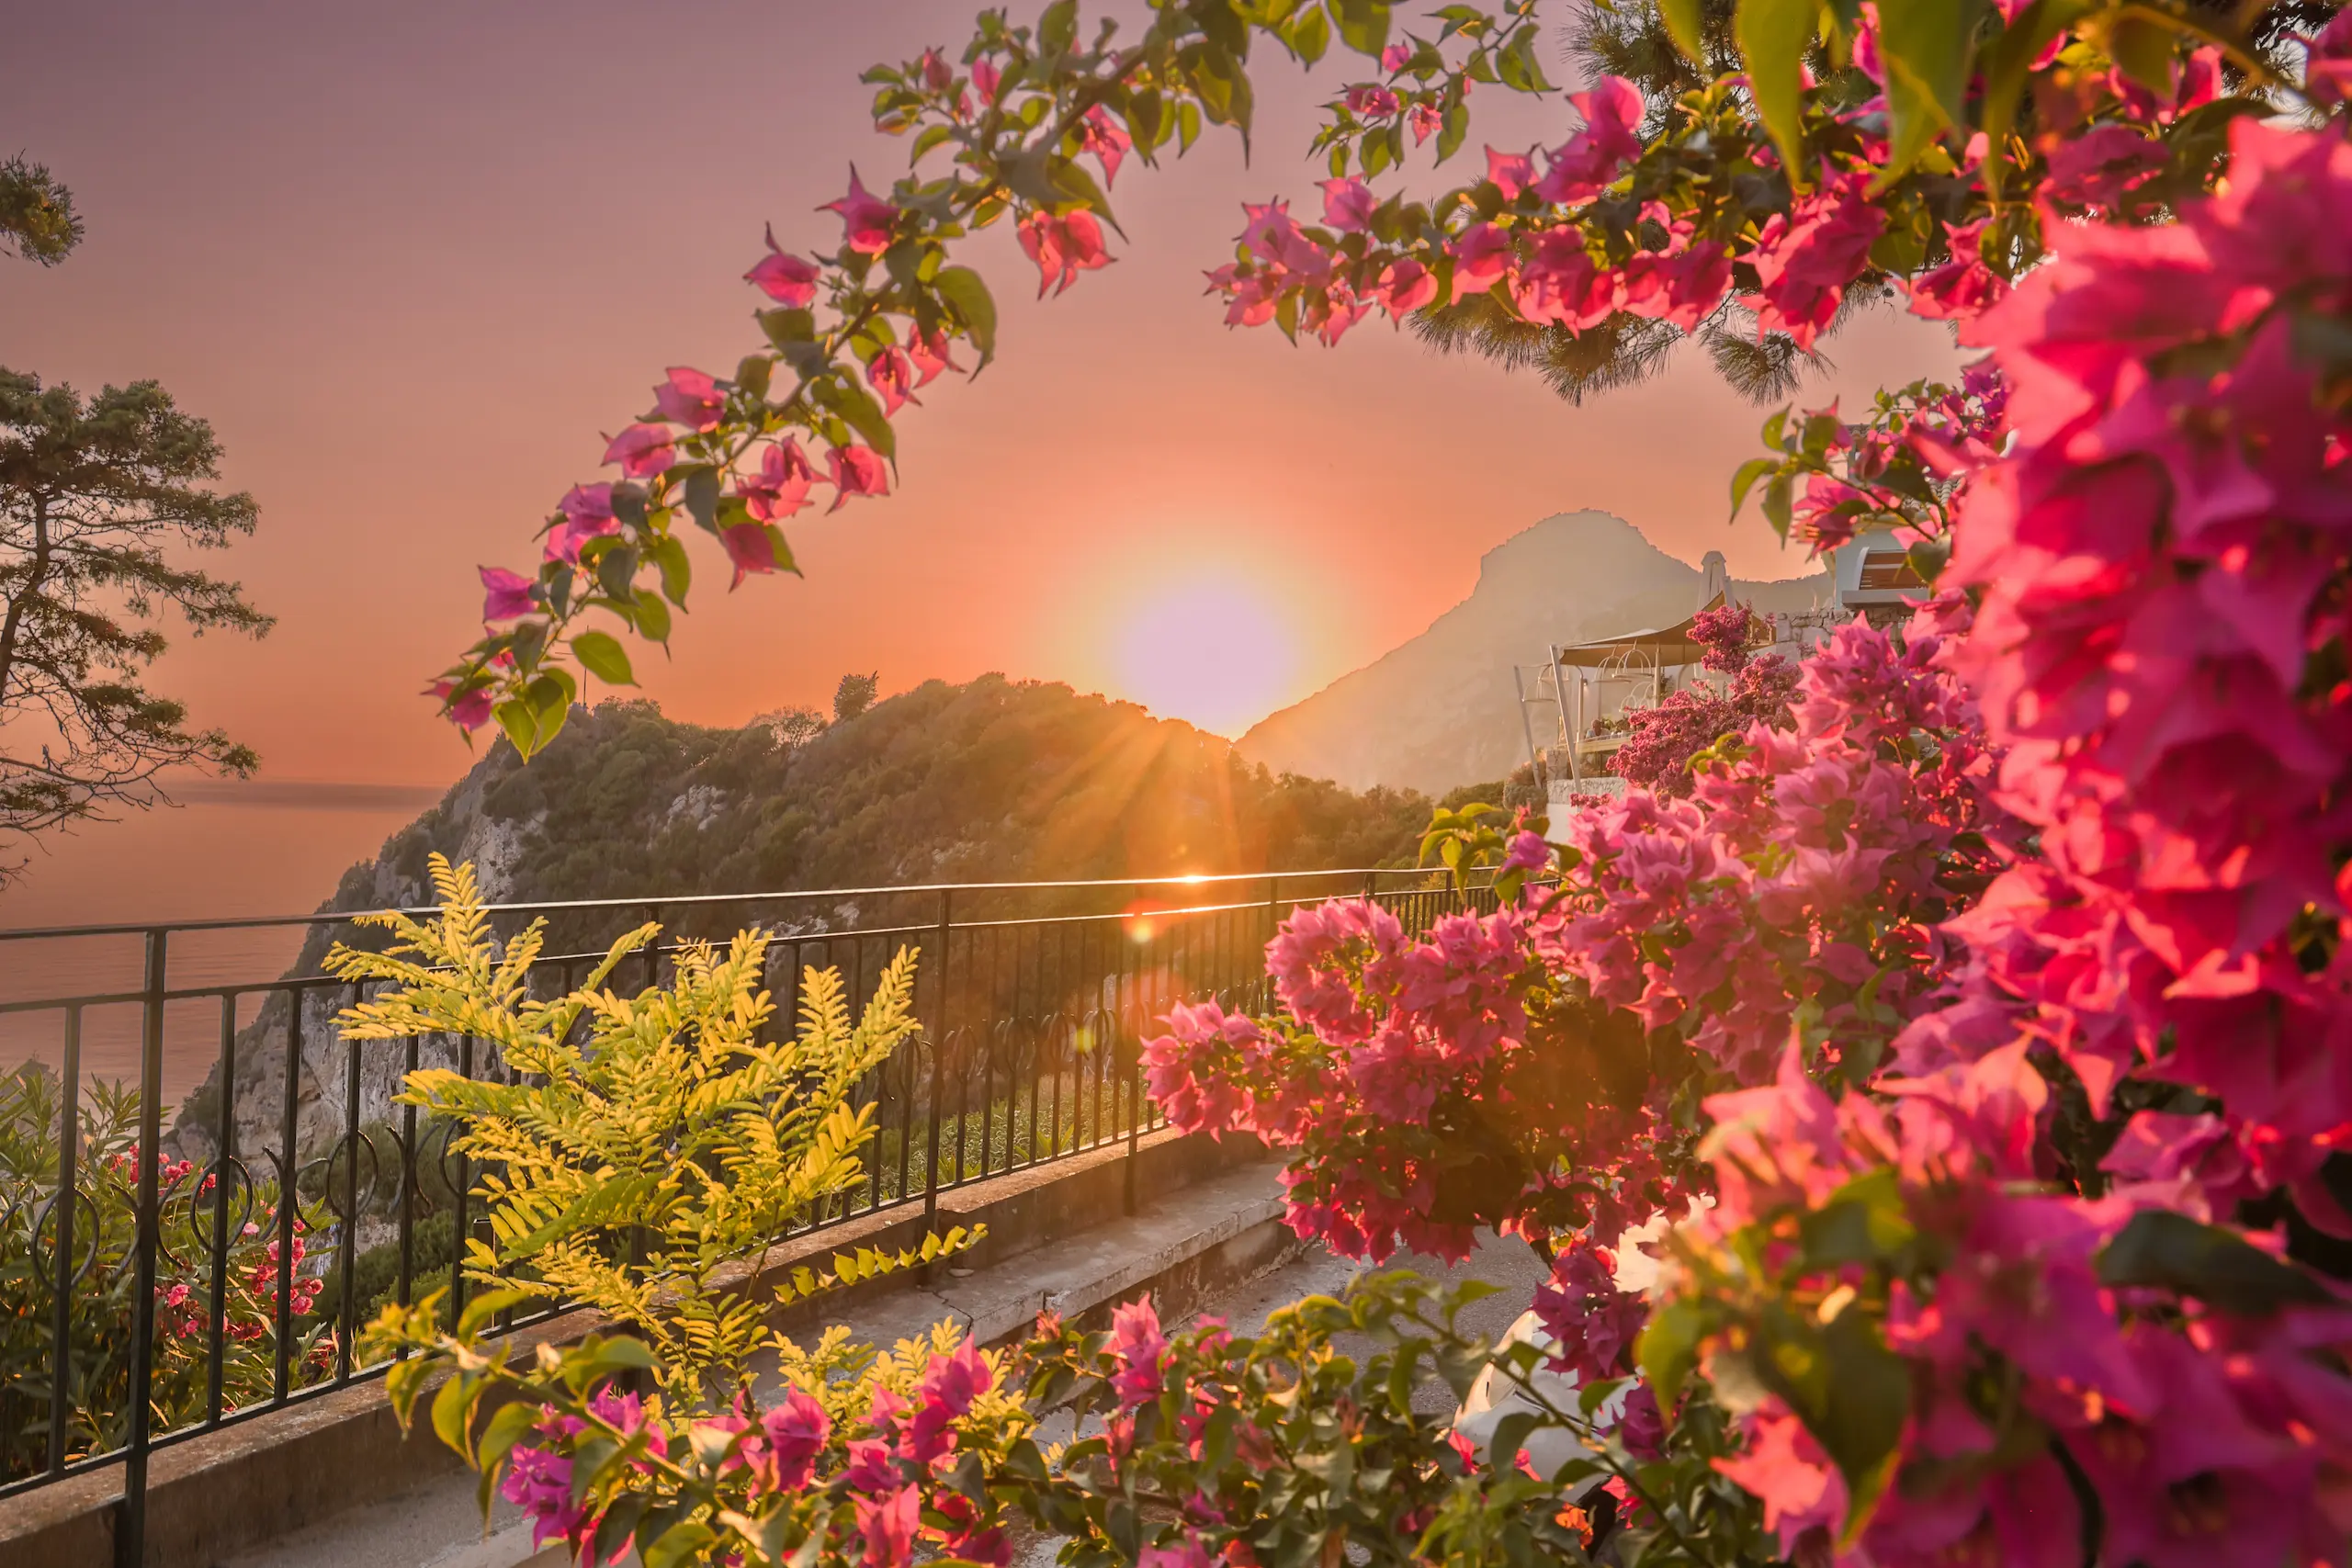
- Backlight (shooting toward the sun): Creates rim light around subjects, flare, and dramatic silhouettes. Position your subject between you and the sun, expose for the sky, and let the subject go dark or use fill flash to balance.
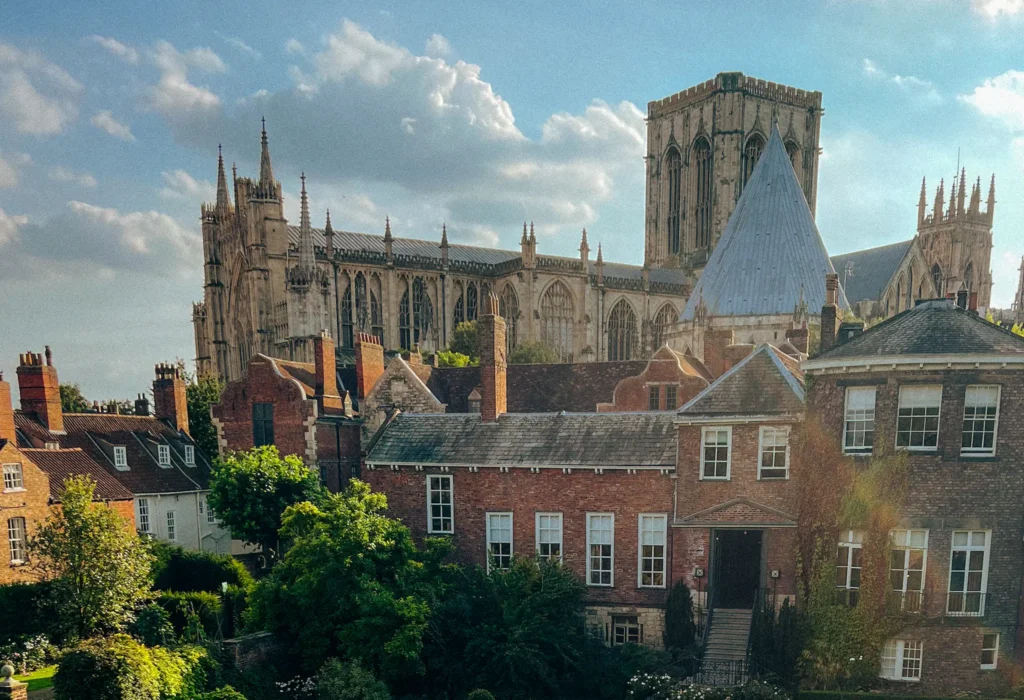
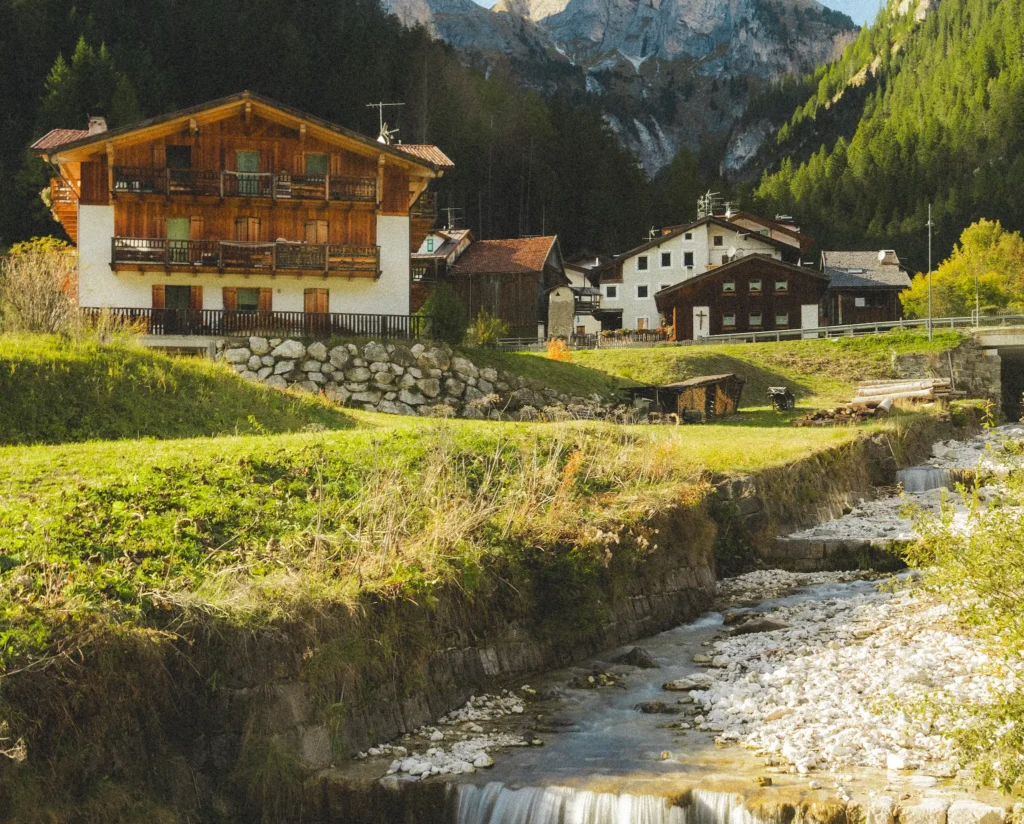
- Side light: Directional light from 45–90 degrees reveals texture in landscapes, architecture, and skin. The most dimensional and form-revealing lighting angle.
- Long shadows: The low sun creates long shadows that can become compositional elements themselves — lines leading through the frame, geometric patterns, repeating shapes.
- Reflections: Still water, wet pavement, windows — all catch and amplify golden light. Position yourself to include a reflection in the foreground.
The Settings Starting Point
Every scene is different, but this is where to start when you arrive at a golden hour location:
Golden Hour Settings Reference
- Mode: Aperture priority or Manual — never Auto (camera will underexpose the warm tones trying to neutralize them)
- ISO: Keep as low as possible; ISO 100–400 is achievable in the first 30 minutes of golden hour
- Aperture: f/5.6–f/11 for landscapes; f/1.8–f/2.8 for portraits with background separation
- White balance: Shoot RAW and set it in post, or use Cloudy (5500–6000K) to warm slightly — avoid Auto WB which will neutralize the golden tones
- Histogram: Watch the right edge — let highlights approach but not blow; recover shadows in post
- Burst mode: Light changes fast; shoot bursts and select the best frame rather than single shots