Most people come home from a trip with hundreds of photos and sometimes end up with photos they don’t think are worthy to post.. Sound familiar? The problem usually isn’t the camera, it’s a few habits that are easy to fix once you know what to look for. Whether you’re shooting with a DSLR, a mirrorless, or your phone, or film, these tips will help you come home with shots you’re genuinely proud of.
1. Stop Shooting in the Middle of the Day
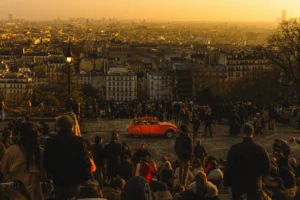
This is the single biggest change most travel photographers can make. The sun between 10 a.m. and 3 p.m. is harsh, flat, and unflattering. It washes out colors and creates harsh shadows on faces and landscapes alike. Don’t get me wrong though, this time of day definitely has advantages for photography. It just isn’t the easiest.
The light you want is during the golden hour: the hour after sunrise and the hour before sunset. The sky turns warm and orange, shadows go long and dramatic, and everything looks better. Buildings, landscapes, portraits, everything. If you build your itinerary around the light instead of the light being an afterthought, your photos will improve overnight.
Blue hour — the 20 to 30 minutes right after the sun fully sets — is also incredible. The sky turns a deep electric blue and city lights start to glow. It’s one of the most underused times to shoot and one of the most beautiful.

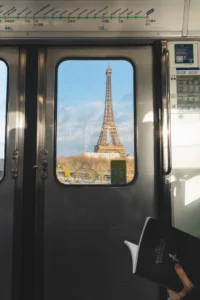
2. Get Up Before Everyone Else
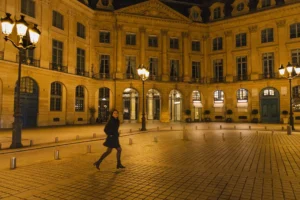
This one hurts, but it’s worth it. Iconic spots that look crowded and tourist-heavy in the afternoon are completely empty at sunrise. You get the place to yourself, the best light of the day, and a completely different feel in your photos.
Some of the most popular locations in the world — the Eiffel Tower, Antelope Canyon, the streets of Florence look totally different before 7 a.m. Set the alarm, go once, and you’ll get to sleep in the next time.
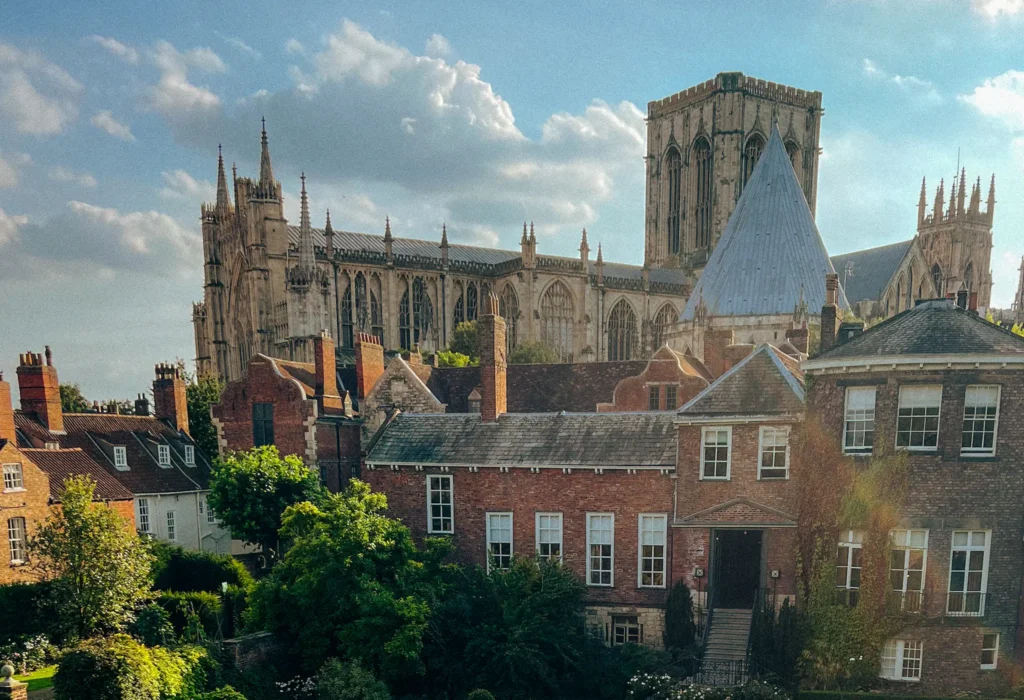
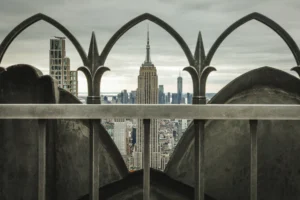
3. Look for Frames Within the Frame
Your eye naturally goes to the main subject of a photo, but what surrounds it matters just as much. Instead of just pointing your camera at something and shooting, look for natural frames around it too. An archway, a window, tree branches, a doorway, a tunnel are some examples.
Putting your subject inside a natural frame adds depth, guides the viewer’s eye, and makes an ordinary photo feel intentional and composed. It’s one of the simplest composition tricks in photography and it works every single time.
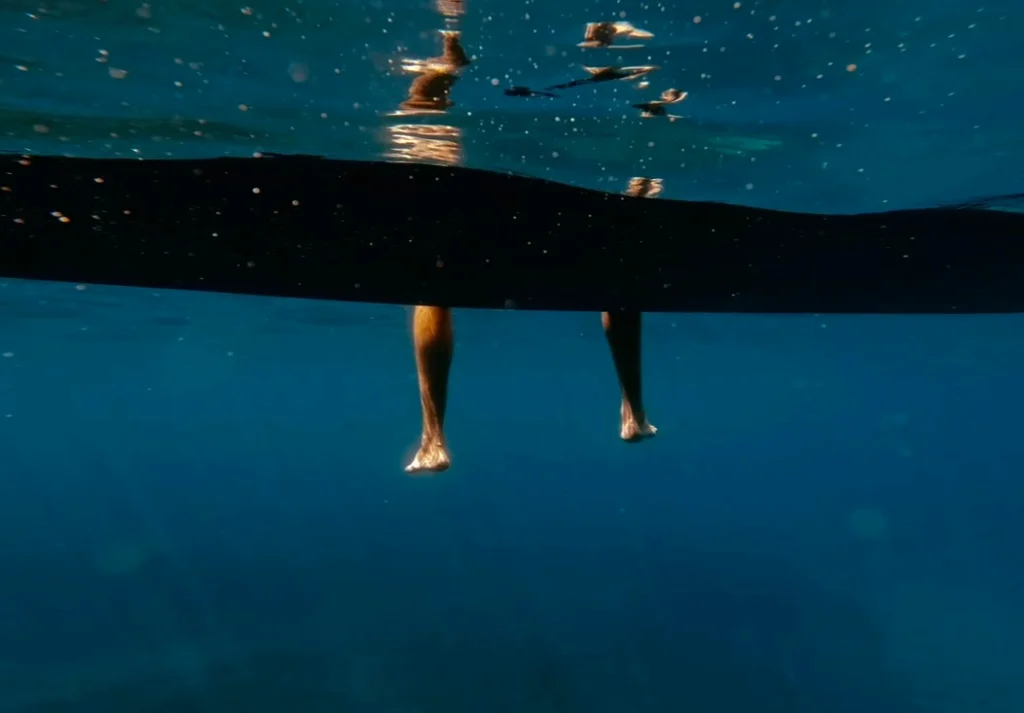
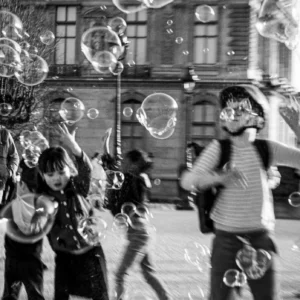
4. Get Lower (or Higher) Than Eye Level
Most people shoot from standing eye level. That’s why so many travel photos look the same. Changing your perspective by even a foot or two creates a completely different image. This is where you can be creative.
Get down low on a beach and shoot at water level, the waves become dramatic and the horizon line shifts in a way that feels cinematic. Climb stairs, find a rooftop, look for elevated walkways. A city street from 30 feet up looks completely different than from the sidewalk. The subjects are the same; the perspective is what makes the image interesting.
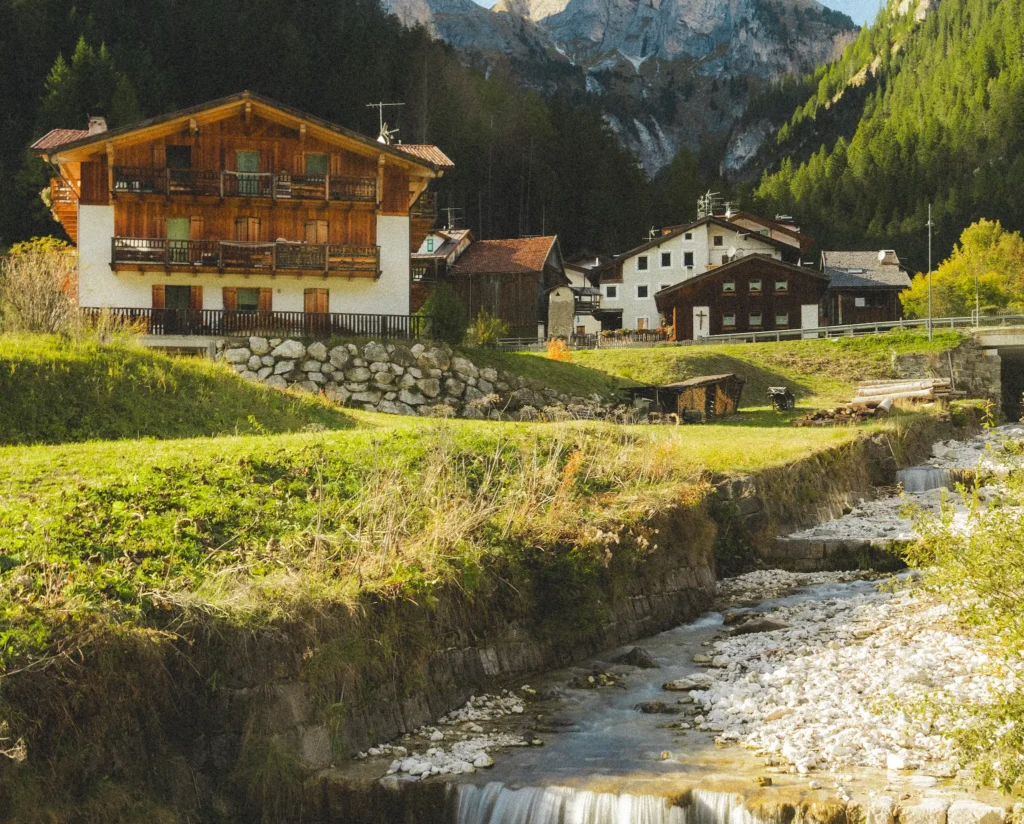
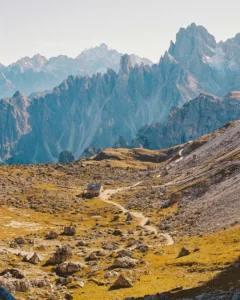
5. Use Leading Lines
Roads, rivers, train tracks, fences, coastlines, anything that runs through the frame and leads the eye toward your subject. Leading lines are one of the most powerful composition tools available, and travel photography is full of them.
When you find a strong leading line, position yourself so the line starts at or near a corner of the frame and pulls the eye toward your main subject. It creates movement and depth in what would otherwise be a static image.
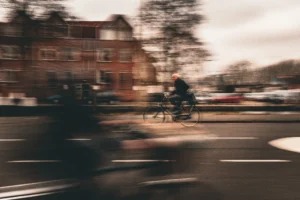
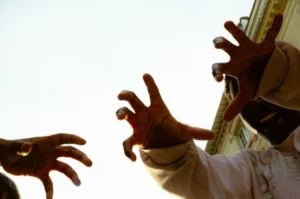
6. Include People (Even Strangers)
Empty landscapes and architecture are beautiful, but a person in the frame can sometimes give it scale, life, and story. It doesn’t have to be a portrait, but rather a silhouette, a figure in the distance, someone walking away from the camera, any human element can make a photo more relatable and more interesting to look at.
If you’re nervous about photographing strangers, start with your travel companions. Put them in the frame with their back to camera, looking out at the view. It places the viewer inside the moment and gives the scene an emotional quality that an empty shot just can’t match. One day, it will just become normal to you.
7. Shoot RAW If Your Camera Allows It
If you’re using a camera that shoots RAW files (most DSLRs, mirrorless cameras, and some phones), use it. RAW files keep all the data the camera captures, which gives you far more flexibility when editing — you can recover blown-out skies, pull detail out of shadows, and correct white balance without any quality loss.
JPEGs are processed and compressed in-camera, which means the camera is making decisions about your photo before you even touch it. Shooting RAW puts those decisions back in your hands. Although, shooting JPEG is easier, and quicker, shooting RAW can really give you creative freedom to manipulate the image to your own feel.
8. Pay Attention to the Background
The subject of your photo might look great, but if there’s a trash can, a power line, or a crowd of tourists directly behind them, then the work you did to frame the shot can be devalued.. Before you press the shutter, scan the entire frame, not just the subject. Photoshop is a nice tool to have when there is nothing that can be done, but keeping an eye out for your background can really grow your skills.
Moving three feet to the left or right, crouching down, or waiting for someone to walk out of frame can make the difference between a good photo and a great one. Clean backgrounds make subjects pop. Cluttered backgrounds pull the eye away from what you actually want people to look at. Try to find the right mix of clutter and cleanliness to really dial in your vision.
9. Revisit the Same Spot
One photo of a place is rarely the best one. If a location is worth shooting, it’s worth going back under different light, different weather, different time of day. Some of the most iconic travel photos in the world were taken by photographers who went back to the same spot dozens of times until everything aligned.
You don’t have to be obsessive about it, but if you find a spot with potential and the conditions aren’t right, note it and come back. The difference between a nice photo and an unforgettable one is often just patience. Patience will be the key to getting that shot!
10. Edit With Restraint
Over-editing is a quick way to make a good photo look off. Heavy filters, oversaturated colors, and aggressive HDR processing can really start to make the photo look unstable.
The goal of editing should be to bring out what was already there, and to create the vibe that you saw with your eyes. Subtle contrast, clean color grading, and careful exposure correction will will help improve the overall look. Sometimes, less can be more with photos, so keep that in mind!.